How to plan a winter photo walk with indoor warm-up stops
· Editorial team minneapolisnewschris.com
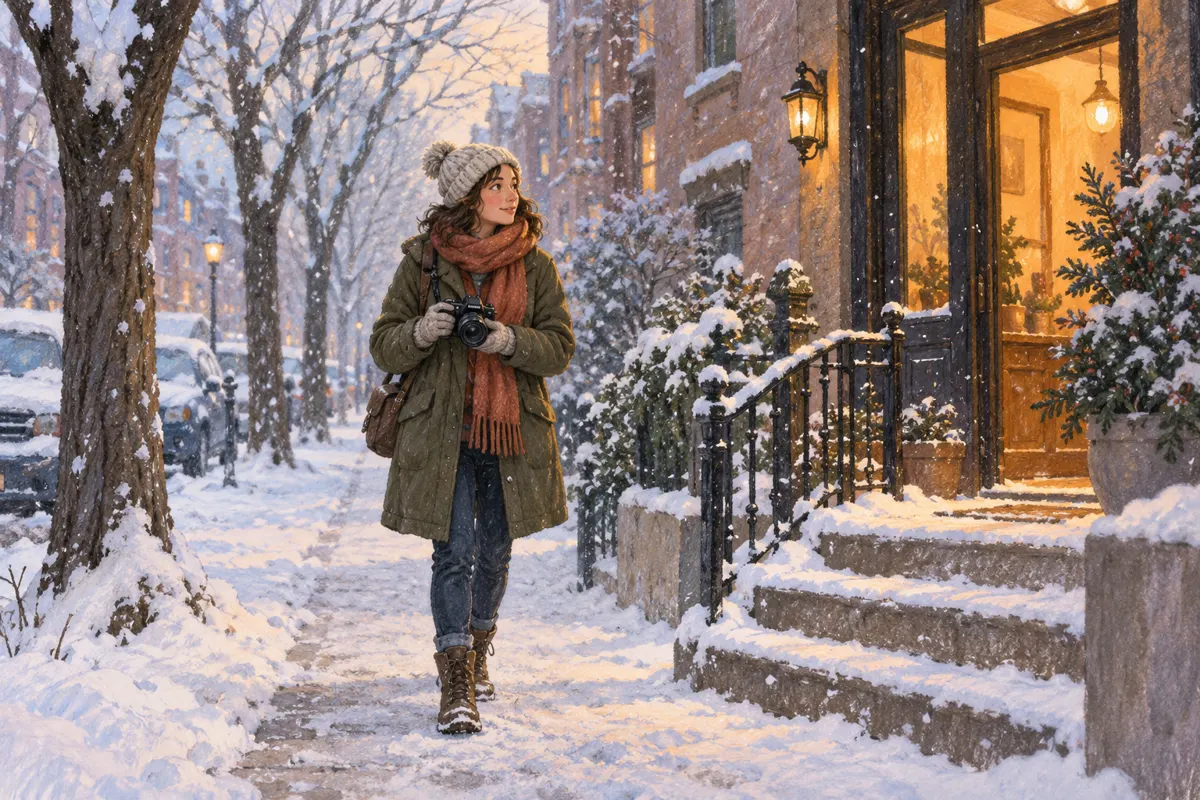
Plan a winter photo walk around a short, familiar route, confirmed indoor warm-up stops and a clear finish time. Choose a few subjects before leaving, allow extra time for standing still and give yourself an easy way to shorten the outing. For a casual Minneapolis walk, the following proposed plan keeps the photography manageable without depending on particular venues.
Choose a short route with an easy exit
Start with streets or paths you already know. Pick two or three scenes that could look interesting in winter: a row of trees, a building entrance, a lamppost or a view along a street. Planning around subjects gives the walk a purpose even when there is no fresh snow.
A proposed starting format is two short outdoor legs separated by an indoor break. Keep the second leg optional. A loop can bring you back to your starting point, while an out-and-back route makes it easy to turn around. Avoid making a distant photo opportunity essential to completing the walk.
- Identify the start, finish and a shortcut back.
- Check conditions along the intended walking route.
- Allow time for photo pauses rather than using walking time alone.
- Share your route and expected return time with someone.
Set your daylight window before departure
Check the sunset time for the date of your walk, then work backward from your intended finish. For a simple outing, plan to complete the outdoor portion in daylight. Leave room for a slower pace, an extended break or a route change.
If sunset is your main photo goal, choose the viewpoint in advance and put it close to the finish or your last indoor stop. The supplied winter photography guide recommends planning where you will be as daylight fades and bringing a tripod for dusk photography.
Check the forecast before leaving. Treat worsening weather or difficult footing as reasons to shorten or postpone the outing. You do not need falling snow to make winter photographs; use the conditions available rather than building the plan around a storm.
Confirm indoor stops and protect your camera
Possible warm-up stops include a library, café or another building that welcomes visitors. These are planning options, not confirmed local recommendations. Verify opening hours, visitor access and whether a purchase is expected. Choose a backup nearby, and avoid assuming that an entrance or lobby permits lingering.
Use the break to warm up and decide whether to continue. Indoor photography is optional; check permission before taking pictures and keep entrances clear.
Temperature changes also need a little planning. Put your camera away before entering a warm building and allow it to acclimate inside its bag before taking it out. Avoid placing cold equipment beside a heater. Pack a lens cloth, weather protection and a spare battery kept warm in an inner pocket; cold can reduce battery performance.
Give each outdoor leg one photo task
The following proposed prompts give you something specific to notice without turning the outing into an assignment. Choose one per leg and move on when you have a few useful frames.
- Find a contrast: dark branches against snow or a bright object against a muted background.
- Follow a line: use a fence, path or building edge to guide the eye.
- Make a pair: photograph one scene broadly, then isolate a detail.
- Notice texture: look for bark, frost or snow resting on an everyday object.
Check a sample image while standing somewhere clear of foot traffic. Snow can cause automatic exposure to render a scene too dark. If needed, raise exposure compensation slightly, checking that bright areas retain detail. Confirm that focus falls on your intended subject.
Fill in a reusable walk plan
Copy these proposed steps into a note before each outing. Set the duration according to conditions and your comfort rather than treating it as a target you must meet.
- Record the date, forecast, sunset time and planned finish.
- Name your starting point, first photo subject and first indoor stop.
- Confirm the stop’s hours and access; add a backup.
- Choose an optional second subject and the shortest return route.
- Pack layers, warm gloves, suitable footwear, a charged phone and your camera essentials.
- Afterward, note which leg felt too long and adjust the next walk.
Practice operating the camera with your gloves before leaving. Keep warmer gloves available for walking and pauses. End the walk when you need to; the optional leg can wait for another day.